How do I enter invoices?
Enter Invoices
An invoice is an itemized list of goods shipped that usually specifies the price and terms of sale. When an invoice is created the user will have the option to print an invoice form immediately (once the invoice is completed), later in a batch process, or not print the invoice at all. Here the user will be able to print those invoices set to print as a batch. An invoice form will be generated based on the user-defined form layout.
Entering invoices
1. Open Connect Accounts Receivable > Customers > Enter Invoices.
2. Set up the options and then click OK.
You can
change the options by clicking Options  (F12).
Options
Display multiplier when calculating detail total
3. Enter the general invoice information.

Invoices tab
4. Enter the invoice detail.
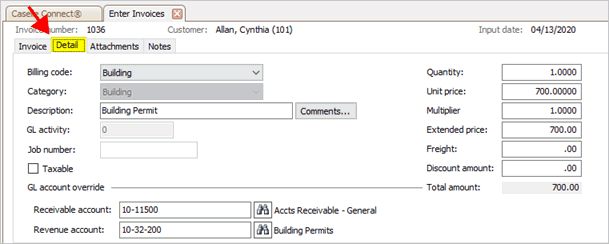
Detail tab
Quantity, unit price, multiplier, extended price, freight, discount amount, total amount
5. Add files.

Attachments tab
6. Click Save (CTRL+S).
The invoice is saved.
202008, 2020Apr10
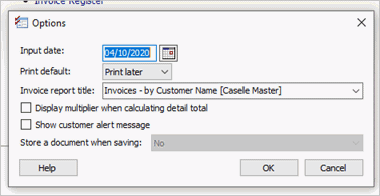
Enter Invoices Options
Enter the entry options for entering
invoices. When the Enter Invoices view is open, you can update the options
by clicking Options (F12).
Options
Input date
Enter the transaction date.
Print default
Select the print option for printing invoices.

Print default list
Do not print
Save the invoice without printing it. Do not select this option if you may need to print the invoice later.
Print later
Save the invoice. When you're ready to print the invoice, run the Invoices report. To learn more, see How do I print invoices? (Report)
Print now
Save the invoice and print the report.
Invoice report tile
Select the default report definition that the Enter Invoices view will use to print the invoice. To add an report definition to the list, set up and save the new report definition for the Invoices report.
Display multiplier when calculating detail total
Add the Multiplier box to the Detail tab. Adding the Multiplier box allows you to enter a multiplier to calculate the invoice total.

Multiplier box
When this option is not selected, the Multiplier box will not be included on the Detail tab.
Show customer alert message
To turn on the customer alert message, click to select the Show Customer Alert Message checkbox.
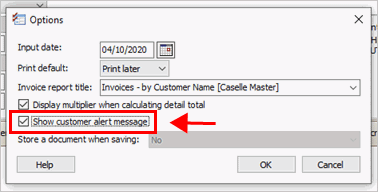
Show customer alert message checkbox
When you enter a customer who has an alert message saved on the customer's account, the alert message will display on the screen. To learn how to add an alert message to a customer, see How do I add an alert message to a customer?
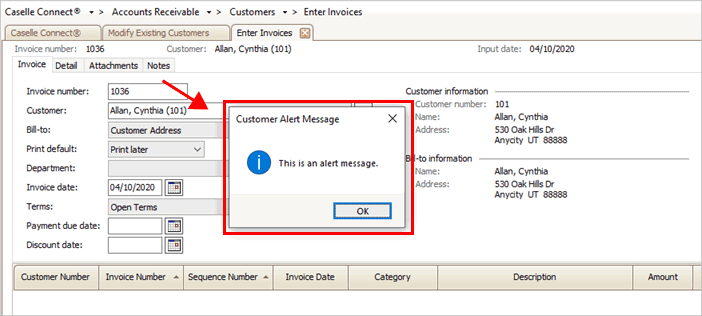
Customer alert message
To turn off the customer alert message, remove the checkmark from the Show Customer Alert Message checkbox.
Store a document when saving
This option is available if your organization is using Connect Document Management to store invoices.

Store a document when saving
Yes
Save the invoice and store the invoice in the Document Management application.
No
Save the invoice. Do not store the invoice in the Document Management application.
Prompt
Save the invoice and then ask if the user wants to store the invoice in the Document Management application.
Invoices
Find these fields on the Invoices tab in the Enter Invoices view.
Invoice number
In New mode, this box displays the next available invoice number.
In Edit mode, use the Invoice Number box to enter the invoice number.
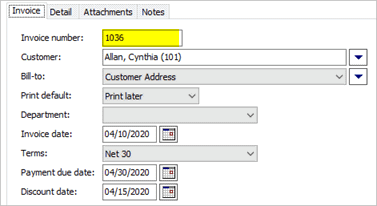
Invoice number box
Customer
Enter the customer name or number. To add a customer, see How do I add a new customer?
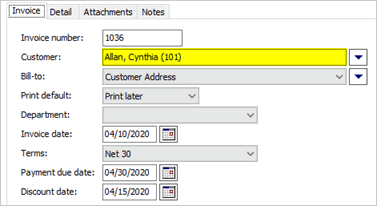
Customer box
Bill-to
If the customer has more than one billing address, use the Bill-to list to select an alternate billing address.

Bill-to box
Print default
Select the print option to print the current invoice.

Print defaults box
Do not print
Save the invoice without printing it. Do not select this option if you may need to print the invoice later.
Print later
Save the invoice. When you're ready to print the invoice, run the Invoices report. To learn more, see How do I print invoices? (Report)
Print now
Save the invoice and print the report.
Department
Select the department.
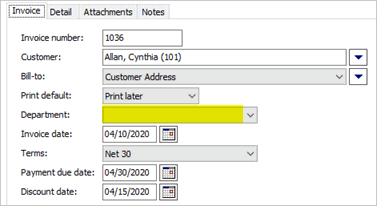
Department box
Invoice date
Enter the invoice date.
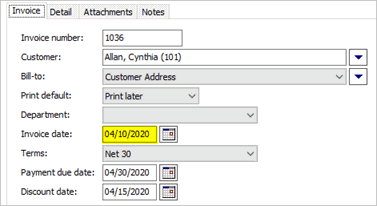
Invoice date box
Terms
Select the terms for paying the invoice. To update the terms list, see How do I add terms?

Terms box
Payment due date
Enter the payment due date.

Payment due date box
Discount date
If there's a discount for early payment, enter the discount due date.
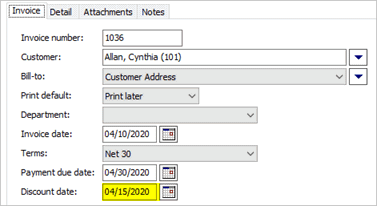
Discount date box
Invoice Detail
Fill in the fields on the Detail tab.

Detail tab
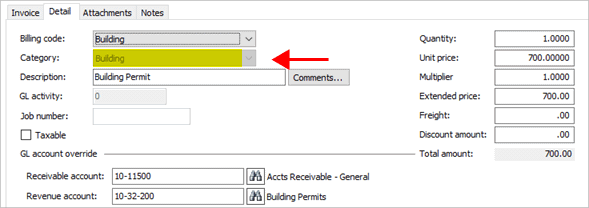
Billing code
Select a billing code To update the billing code list, see How do I add a billing code?

Billing code box
Category
Select a category. To update the category code list, see How do I add a category?
Category box
Description
Enter a transaction description (up to 40 characters).

Description box
GL activity
If your organization is using GL activity codes to track invoices, enter a GL activity code. To learn more, see How do I set up an activity? (General Ledger)

GL activity box
Job number
If your organization is using project accounting to track jobs, enter a job number. To learn more see, How do I set up a job? (Project Accounting)

Job number box
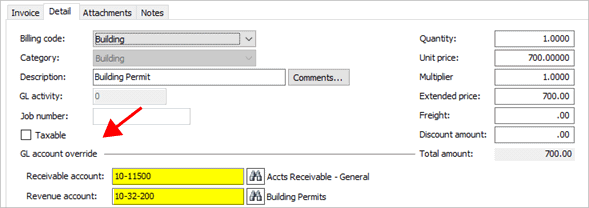
Taxable
If the item is subject to tax, click to select the Taxable checkbox. If the item is not subject to tax, do not select the Taxable checkbox.

Taxable checkbox
GL account override
To use a different GL account from the default GL accounts saved on the billing code. To view the default GL accounts on a billing code, see the GL Accounts tab in Organization > Billing Codes. To learn more, see How do I update the GL accounts? (Billing Codes)
GL account override section
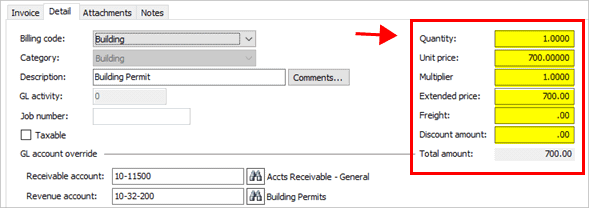
Quantity, unit price, multiplier, extended price, freight, discount amount, total amount
Enter the values to calculate the invoice detail total.
Invoice amounts and totals
Attachments
Add files, Word (docx), Excel (xlxs), PDF (pdf), and images (jpg, gif, bmp, png) to an invoice.

Attachments tab
202008, 2020Apr13
Copyright © 2025 Caselle, Incorporated. All rights reserved.