User Rights Report
Security
Print the report to review user access to applications, routines, tasks, and reports.
Printing a User Rights Report
1. Open Connect System Management > Security > User Rights Report.
2. Select a Title.
3. Set up the Include All Users checkbox.
Filter the users to include on the report.
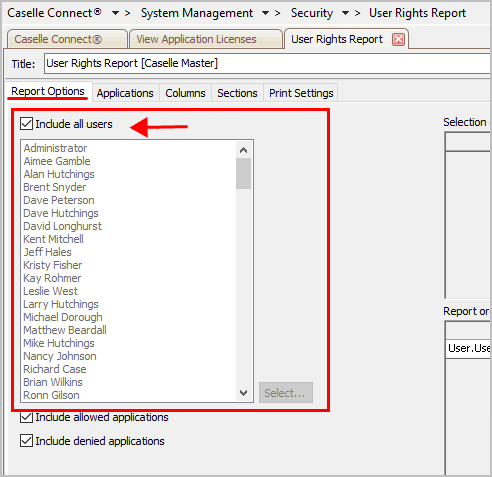
Include All Users
What do you want to do ?
-
I want to include all users. Click to select the Include All Users checkbox.
-
I want to select the users to include. Remove the checkmark from the Include All Users checkbox and then click the Select button.
4. Set up the Include Allowed Applications checkbox.
Filter the report by applications the user can access.

Include Allowed Applications checkbox
5. Set up the Include Denied Applications checkbox.
Filter the report by applications the user cannot access.
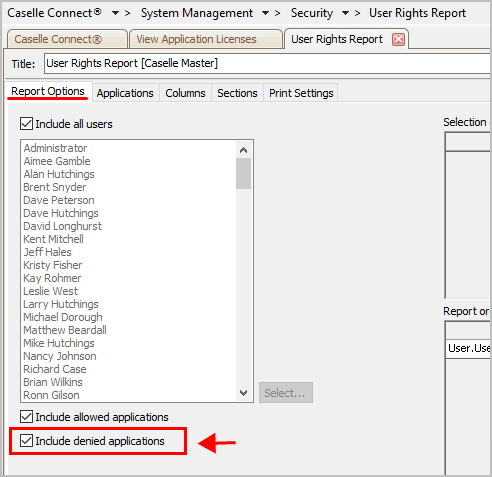
Include Denied Applications checkbox
6. Select the Applications.
Filter the report by application. You can determine which applications to include on the report. You can also drill down into an application to print user rights for specific routines, reports, and tasks. Clicking [+] will expand a section and clicking [-] will collapse it.

Applications tab
7. Set up the Print Settings.
Can I choose a different font?
How do I change the paper size?
How do I change the report margins?
How do I insert the date, time, or count in a file name?
How do I change the default report title?
8. Click Print (CTRL+P).
Can I save a report as an Excel, PDF, RTF, or TXT file?
How do I attach a report to an email?
How do I save a report as a PDF?
The User Rights Report prints.
Updated 06Jul2018
Copyright © 2025 Caselle, Incorporated. All rights reserved.