How do I add an approval step?
Create an approval step to assign to an approval process.
Use an approval step to group together the approvers who will be assigned to an approval process. Only the approvers listed in the approval step will have the authority to approve or reject items that are assigned to the approval process.
Adding an approval step
1. Open Connect Human Resources > Organization > Approval Steps.
2. Click New (CTRL+N).
3. Enter the Approval Type.
This is the name of the approval step. For example: Manager's Approval, Supervisor's Approval, Senior Manager Approval, etc. Use any name that is easy for your people to recognize.
4. Enter the Description.
This is a longer description of what the approval step does, how it works, what is supposed to happen, etc. You can use the same text that you used to name the approval step.
5. Assign the approvers to the Approval Type.
These employees can approve timesheets at this approval step.
To add an approver, click Add Approval Users.

Add Approval User button
The Search form displays a list of employees that can approve timesheets.
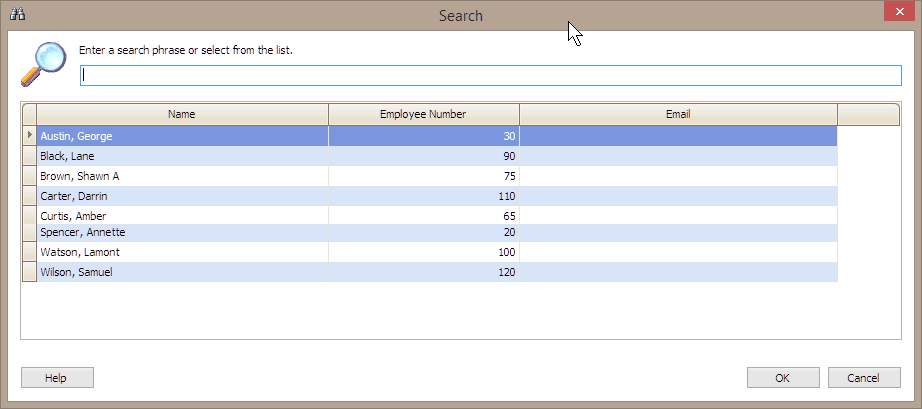
Search form
Select the employee's name and then click OK.
6. Click Save (CTRL+S).
The approval step is saved. After you add all of the approval types that you'll use in an approval process, the next step is to set up the approval process. See the help topic titled How do I add an approval process?
Updated 18Jul2018
Copyright © 2025 Caselle, Incorporated. All rights reserved.