How do I import amounts?
Journals
Use Import Amounts to add information from a comma-delimited text file into the General Ledger database. For example, if you have been preparing budget information in a spreadsheet, you can use this routine to import the information in the spreadsheet.
Watch a video
Watch a clip from the 2024.08, General Ledger Refresher Training to learn more.
Before you get started
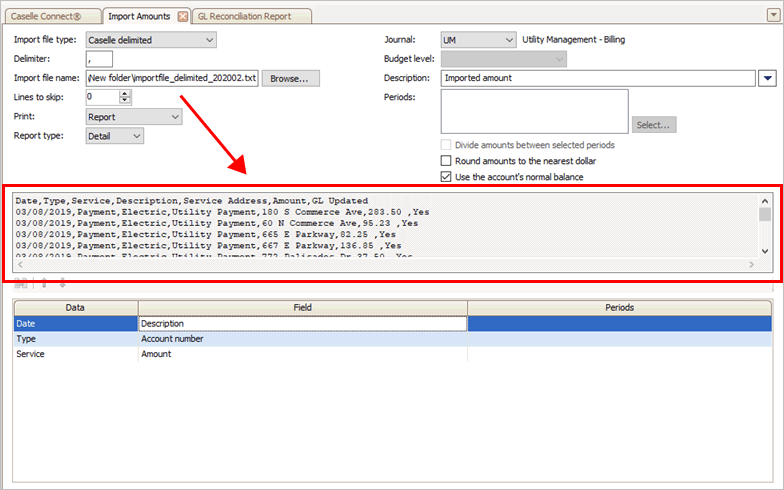
Importing amounts from a Caselle delimited file
1. Open Connect General Ledger > Journals > Import Amounts.
2. Use the Import File Type box to select Caselle Delimited.
3 Use the Delimiter box to displays a comma (,).
4. Use the Import File Name box to enter the path and file name to the import file.
The records in the import file display in the pane in the middle of the screen. It shows the values in the import file as they are separated by the delimiter.
Display pane
5. Set up the import amount options.
Divide amounts between selected periods
Round amounts to the nearest dollar
Use the amount's normal balance
6. Click GO (CTRL+G).
The routine processes the transactions in the import file.
202002, 2020Jan08
Importing amounts from a Caselle fixed-length file
1. Open Connect General Ledger > Journals > Import Amounts.
2. Use the Import File Type box to select Caselle Fixed Length.
3. Use the Import File Name box to enter the path and file name to the import file.
The records in the import file display in the pane in the middle of the screen.
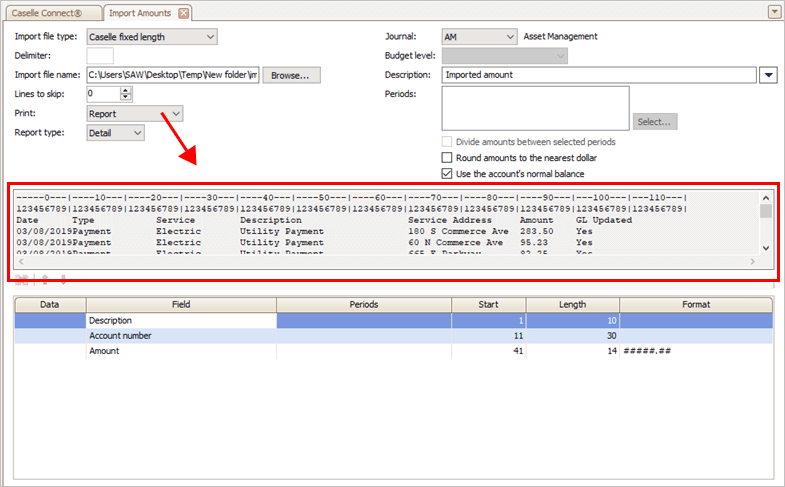
Display pane showing fixed-length fields
The first row shows the position of the fixed length fields in the import file.

Row 1
The second row shows the length of the fixed length fields in the import file.

Row 2
4. Set up the import amount options.
Divide amounts between selected periods
Round amounts to the nearest dollar
Use the amount's normal balance
5. Click GO (CTRL+G).
The routine processes the transactions in the import file.
202002, 2020Jan08
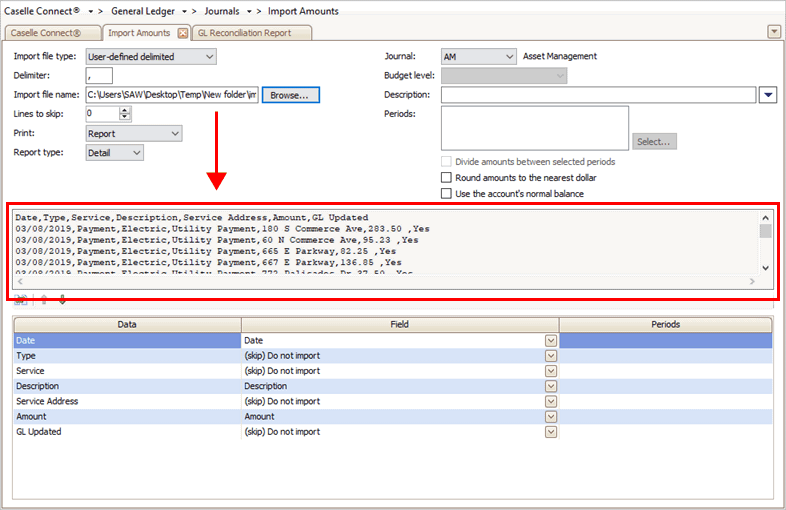
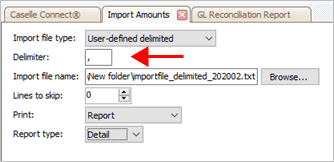
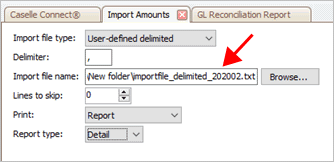
Importing amounts from a user-defined delimited file
1. Open Connect General Ledger > Journals > Import Amounts.
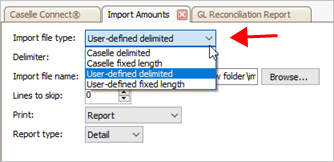
2. Use the Import File Type box to select User-defined Delimited.
3 Use the Delimiter box to enter the character or symbol used in the import file to separate values.
4. Use the Import File Name box to enter the path and file name to the import file.
The records in the import file display in the pane in the middle of the screen. It shows the values in the import file as they are separated by the delimiter.
Display pane
5. Assign the fields in the import file to the corresponding field in the Connect database.
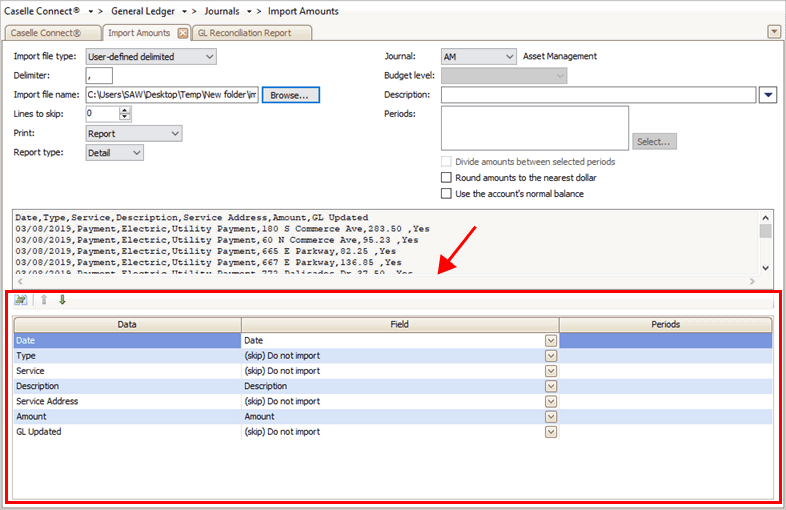
User-defined delimited fields in the import file
Use the Field menu to select the matching field in the database.
If you do not want to import a field, choose (skip) Do Not Import.
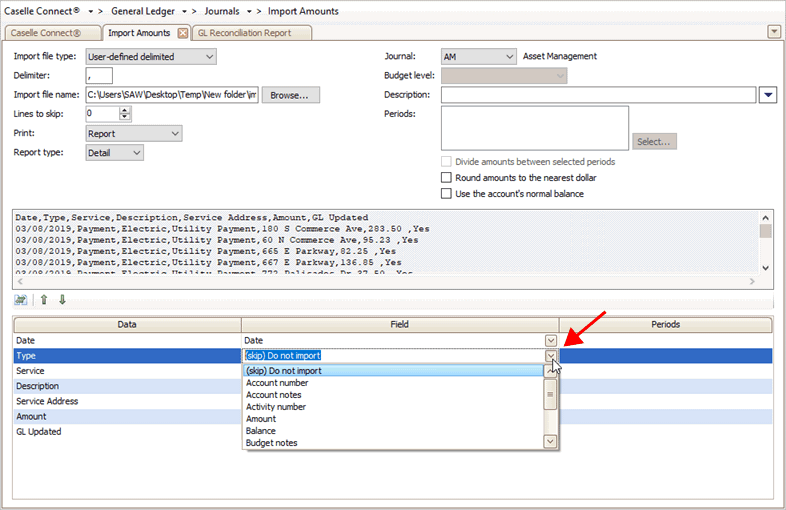
Field menu
6. Set up the import amount options.
Divide amounts between selected periods
Round amounts to the nearest dollar
Use the amount's normal balance
7. Click GO (CTRL+G).
The routine processes the transactions in the import file.
202002, 2020Jan08
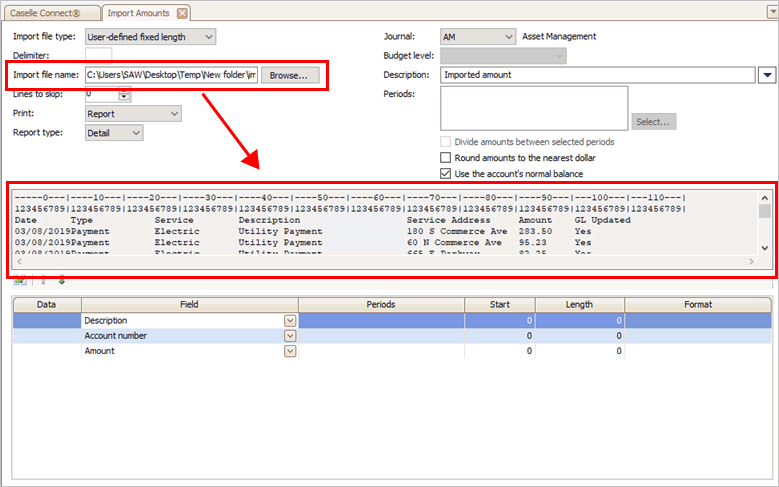
Importing amounts from a user-defined fixed-length file
1. Open Connect General Ledger > Journals > Import Amounts.
2. Use the Import File Type box to select User-defined Fixed Length.
3. Use the Import File Name box to enter the path and file name to the import file.
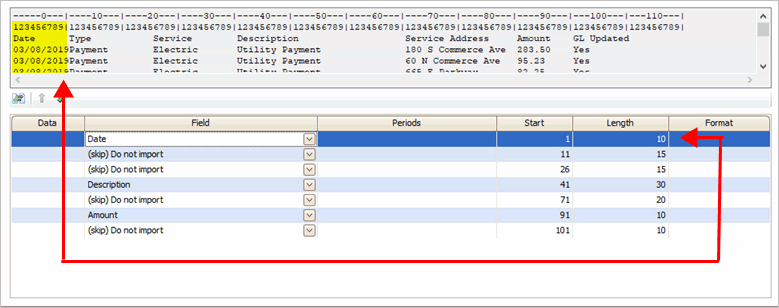
The records in the import file display in the pane in the middle of the screen.
Display pane showing fixed-length fields
The first row shows the position of the fixed length fields in the import file.
Row 1
The second row shows the length of the fixed length fields in the import file.
Row 2
4. Use the grid at the bottom of the screen to set up the fields properties on the fields that will be imported.
Use the Field Selection button to match the fields in the import file with the field names in the Connect database.
Grid showing field properties
Next, use the Length column in the grid to enter the field length of each field in the import file. To do this, use the display grid to identify the field name and then use "123456789|123456789|123456789..." row to enter the field length.
Enter the field length of the Date field
5. Set up the import amount options.
Divide amounts between selected periods
Round amounts to the nearest dollar
Use the amount's normal balance
6. Click GO (CTRL+G).
The routine processes the transactions in the import file.
202002, 2020Jan08
Fixing errors
When the Import Amounts runs, Connect will check the import file for errors. If there's an error in the options selected on the Import Amounts view, the error message will display in a dialog box on the screen. If there's an error in the import file, the transaction is listed in the error file. To learn more about fixing errors from running Import Amounts, see the help topic titled How do I fix errors? (Import Amounts)
Options
You will find these fields on the Import Amounts view.
Import file type
Connect uses the import file type to map the fields in the import file to the matching columns in the Connect database.
Import file type
Delimiter
This field is only available when the import file type is user-defined delimited or Caselle delimited.
Use the Delimiter box to enter the character or symbol used by the import file to mark the beginning and ending of each field value. If the import file uses <TAB> as the delimiter, type "TAB" in the Delimiter box.
Delimiter
Import file name
Use the Import File Name box to enter the path and file name to the import file. Example: d:\mypc\importfilename.txt
If the path is not included, Connect will look for the import file in the default Caselle directory.
Import file name
Lines to skip
Some spreadsheets include a header row. You can use the lines to skip option to exclude the header row from the transactions that will be imported.

Lines to skip
Delimited file
In a delimited file, the header row displays in the display pane like this...
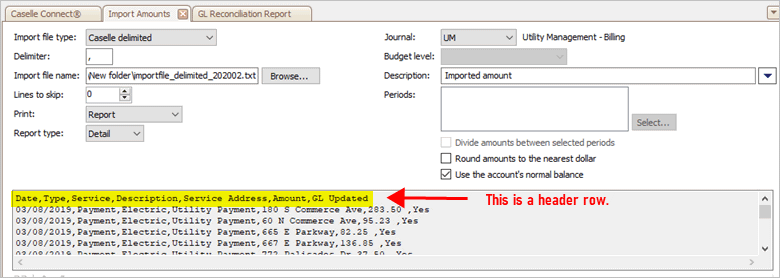
Header row showing in the display pane
In this example, change the Lines to Skip to 1 to exclude this row from the amounts that will be imported.
Fixed-length file
In a fixed-length file, the first row displays the position of the fixed-length field and the second row displays the length of the fixed length fields in the import file.

In this example, change the Lines to Skip to 2 to exclude this information from the amounts that will be imported.
Choose the output option. To preview the transactions that will be created without creating any transactions, choose Report Only. When you're ready to create transactions, choose No Report or Report.

What do you want to do?
-
I want to update transactions without printing a report. Select No Report.
-
I want to print a report and update transactions. Select Report.
-
I want to print a report without updating transactions. Select Report Only.
Report type
Define how many transactions to create. Use detail to create one journal entry for each transaction. Use summary to create a single journal entry for all transactions in the import file.

Report type
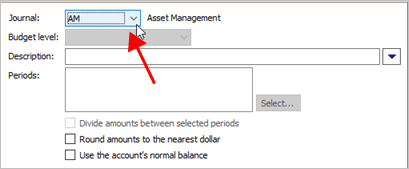
Journal
Select the journal code that the routine will use to create the journal entries.
Journal
Budget level
The Budget Level box is only available when the journal is a budget journal.
If the selected journal is a budget journal, use the Budget Level box to select the budget level in the selected journal that the routine will use to create the budget entries.
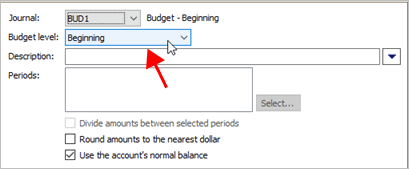
Budget level
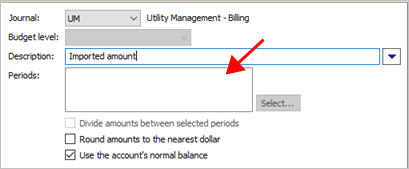
Description
Enter a default transaction description for each transaction in the import file that does not include a transaction description.
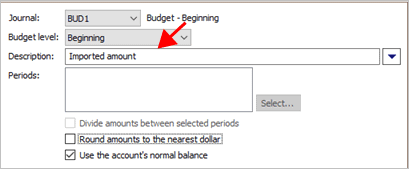
Description
Periods
Select the period that the routine will use to create journal entries. You can import amounts into one or more periods.
Periods
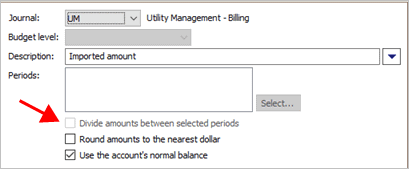
Divide amounts between selected periods
Split the amount equally between the selected periods. Any remaining amount that does not split equally will be allocated to the last period.
Note: This checkbox is only available when an amount is selected and more than one period is selected.
Divide amounts between selected periods
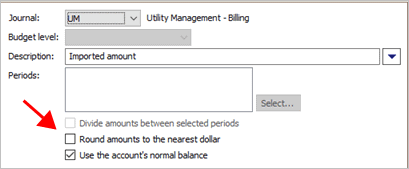
Round amounts to the nearest dollar
Round up amounts to the nearest whole dollar. When this checkbox is not selected, the routine will import the actual amount as is.
Round amounts to the nearest dollar
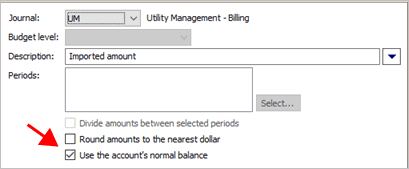
Use the account's normal balance
Ignore the sign assigned to an amount in the import file and use the normal sign assigned to the account in Connect General Ledger to assign the sign to the amount. The account sign is defined by the account type that is assigned to the account code, see Account codes.
Use the account's normal balance
Copyright © 2025 Caselle, Incorporated. All rights reserved.