How do I set up email notifications?
Send automated email to your contacts.
An email notification allows you to send an email to an individual to let them know something. You can automate the alert process to notify permit and project owners for the following reasons:
-
When an appointment is scheduled, canceled, completed, or modified
-
When an approval is assigned or unassigned
-
When an item such as a license or permit is approved, completed, expiring, or expired
First, add an admin email address
This is the email that appears in the From field. This is also the email address the recipient will reply to. Example: name@organization.gov, noreply@organization.com, and organization@city.com
You can use more than one email address as the admin email. Use a semicolon (;) to separate multiple email addresses, like this... jane@org.gov; bill@org.gov; marta@org.gov. All of the email addresses in this field will be included in the From field and replies from the recipient will be sent to all of the Admin email addresses.
Do this...
1. Open Connect Community Development > Organization > Organization.
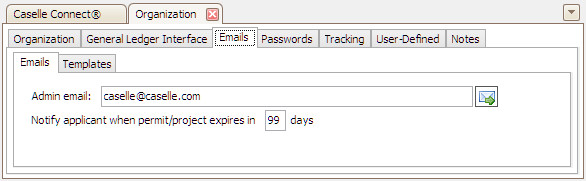
2. Click to select the Emails tab.
3. Find the field titled Admin Email.
4. Enter the email address the organization will use to send automated email and receiver replies to automated email.
5. Click Save (CTRL+S).
The admin email for sending and receiving automated email is saved.
Second, define the notification period
The system will use the expiration date to count back the number of days stored in this field. That's the date when the system will send the email notification to the primary permit/project owner. You can use 0 to 99. This setting will set the default setting on the email templates for Item Expired and Item Expiring.

For example, using 0 will send the email notification on the day the permit/project expires. On the other hand, using 14 will send the email notification to the permit/project owner two weeks before the expected expiration date.
Do this...
1. Open Connect Community Development > Organization > Organization.
2. Click to select the Emails tab.
3. Find the field titled Notify Applicant When Permit/Project Expires In [x] Days..
4. Enter the number of days before the expiration date to send the email notification.
5. Click Save (CTRL+S).
Connect will use the number of days entered here to calculation a notification date on items with an expiration date.
Third, create an email template
The email template lets you write out the email subject line and the email content. You can use the Modify button to open the email editor. The email editor makes it simple to update text, format text blocks, and insert variables. You can type directly into the text on the Template subtab; however, you'll have more control over things like inserting a line break or positioning text if you use the email editor.
Copyright © 2025 Caselle, Incorporated. All rights reserved.