How do I add an attachment to an inspection? (Connect Online)
Connect Online Community Development
Attach documents, files, and images to a work order.
Adding an attachment to an inspection
1. Open My Dashboard.
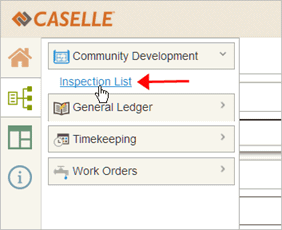
2. Use the Applications menu to select Inspection List.

Applications menu
The Inspections page displays.
3. Select an inspection to work on.
See the help topic titled How do I work on an inspection?
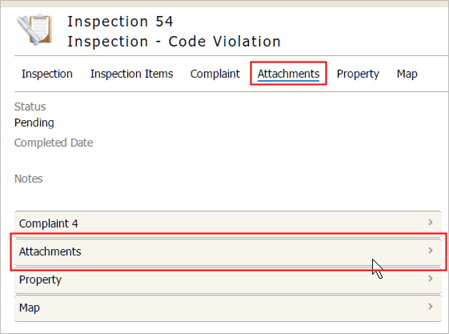
4. Expand the Attachments section.
Use the More menu to select Attachments or click on the section titled Attachments to expand the section.

Attachments
5. Click Add Attachment.

Add Attachments link
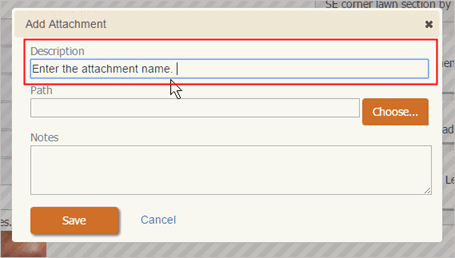
6. Enter a Description.
This is the name that will display as the attachment name.

Attachment Description
7. Enter a Path.
Click Choose to browse for the path to the image. If you're using an online attachments interface, Connect will upload the image to the online attachments app and replace the path to the source file with the path to the file stored in the online attachments app.

Attachment Path
To set up an online attachment interface, see the help topic titled How do I set up online attachments?
8. Enter Notes.
This step is optional. Use the Notes field to enter any additional comments that you'd like to save with the attachment.

Attachment Notes
9. Click Save.
The attachment is saved.
Updated 06Mar2018
Copyright © 2025 Caselle, Incorporated. All rights reserved.