Print Checks - Controls by field name (2023.02)
Reports, Forms
Lists the controls in the Print Checks view by field name. The view was updated in the 2023.02 release. Some of the controls have been moved to a new location and there are a few new controls.
Report Forms
There's a new look and feel to the view.
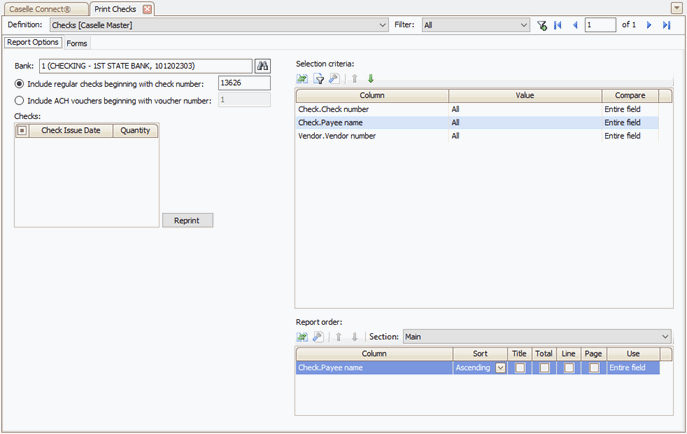
Report Options tab
Bank
Select the bank and bank account for issuing checks.
Include regular checks beginning with check number
Select this option to print regular checks. The check number box will use the next available check number that's stored in with the bank in the Banks table (Organization > Banks).
Include ACH vouchers beginning with voucher number
Select this option to print ACH vouchers. The ACH number box will use the next available ACH number. The next available ACH number is stored with the bank in the Banks table (Organization > Banks).
Checks
Lists the check issue dates for checks that are waiting to print. If a bank is selected and the list is still empty, then the checks have already been processed or the checks have not been created.
Selection criteria
Set up options for filtering and selecting vendors or checks.
Report order
Set up options for printing report columns on the report and forms.
Forms
The Forms tab has been updated with a new look and feel. There are several new controls on the tab to help you with printing, saving, and exporting checks.
Forms tab
Output options
This section works like the options on the Print Settings tab. You can print forms, save forms to a file, export forms to a file to send to a third party, or send forms to the Document Management application.
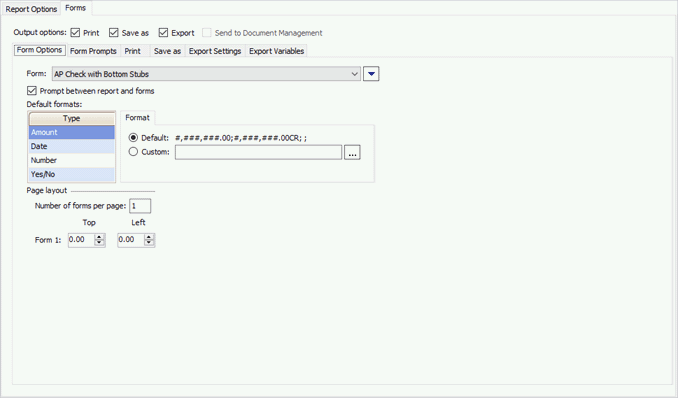
Form options
Select the check form definition; default format for amounts, dates, numbers, and yes/no fields; and the number of forms to print on each page.
Forms tab > Form Options tab
Form
Select the form definition for printing checks.
Prompt between report and forms
When you’re printing a list and forms, show a dialog box on the screen when the list is done printing so you will know when the forms will begin printing.
Default formats
Change the default formats for printing an amount, date, number, and yes/no. You may need to change the default format to use less space when there’s too much information to fit on a page.
Page layout
Use this option to print more than one form on each page. If you are printing more than one form on a page, enter the top and left location in inches to print each form.
Form prompts (New)
Set up variables that ask you to enter more information. This is where you will find variables that ask for the mailing date, delinquent date, billing date, and so on. Only the variables that are included on the form layout will be shown in the list.

Forms tab > Form Prompts tab
Form print
Manage the print profile, printer, page range, and copies. The Print checkbox must be selected as the output option.

Forms tab > Print tab
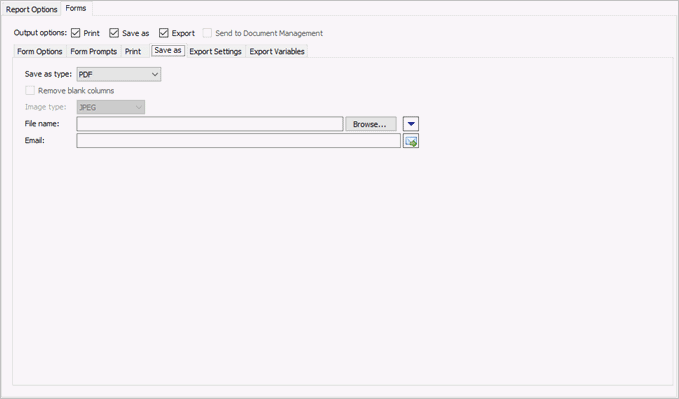
Form save as
Set up this section if you have selected Save As as the output option.
Forms tab > Save As tab
Save as type
Save the list/notices as a csv, excel, excel 97-2003, html, image, mhtml, pdf, rtf, text, or xps document. The Save As checkbox must be selected as the output option.
Remove blank columns
Do not include columns without values. This option is available when the save as type is csv.
Image type
Select the image type: bmp, enhanced WMF, gif, jpeg, png, tiff, or wmf. This option is available when the save as type is image.
File name
Enter the path and file name. To add the date, time, or counter, use the File Name menu to insert a variable in the file name.
Enter an email address to send the file to an email recipient.
Form export settings
Save the list/forms as an export file for your own files, or to upload to a bill provider or online payment provider. The Export checkbox must be selected as the output option.

Forms tab > Export Settings tab
File type
Select delimited to create an export file that uses a delimiter to mark the end of a field or record. Select fixed length to create an export file that specifies the exact length of each field.
File name
Enter a path and file name. To add the date, time, or counter, use the File Name menu to insert a variable in the file name.
Enter an email address to send the file to an email recipient.
List x per line
Select field to list one field per line. Select record to list the fields in a record per line.
Delimited options
If the file type is delimited, enter the character or symbol for the field delimiter, surround character, line break character, end of field, and end of record.
Include variable description record
Insert a header row in the export file.
Include multiple line text
If a column returns a value with line breaks, for example a long note or comment, use this option to remove the line breaks to include the entire text in the export file. When this option is not selected, the value export file will only include the text before the first line break.
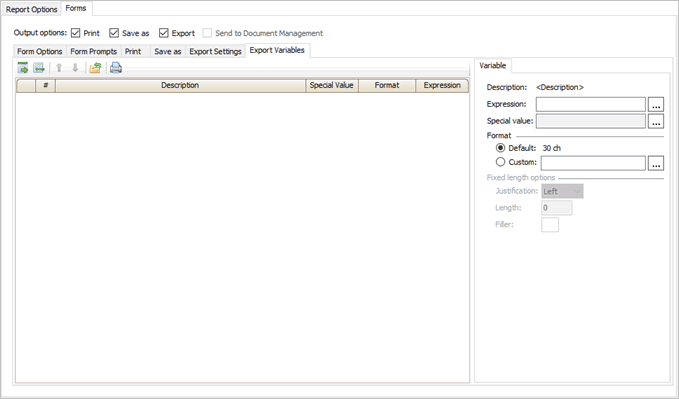
Form export variables (New)
Create a raw export file. A raw export file shows you the fields in the export file. You can add, remove, change the field order, and change the variable properties. To start creating the export file, import the form variables from a saved form definition or select the variables from a list.

Forms tab > Export variables tab
202211, 2022Aug31
Copyright © 2025 Caselle, Incorporated. All rights reserved.