How do I set up Esri Map Layers?
ERSI
Set up the Esri Map Layers interface to view map layers using Connect Online. A map layer adds features, such as hydrants, meters, control valves, mains, lateral lines, and so on to a basemap.
Watch a video
Click here to watch a video on setting up and using Esri Map Layers.
Before you get started
-
You will need to purchase a license to use Esri Map Layers from esri.com. Esri.com will send a URL to you. You will need the URL to set up the Esri Map Layer interface.
Setting up the Esri Map Layer interface
1. Open Connect System Management > Organization > Esri Map Layers.
2. Click New (CTRL+N).

New button
3. Enter the URL.
When you purchase a license from Esri.com, you'll receive a URL. Copy and paste the URL from Esri.com into the URL field.

URL
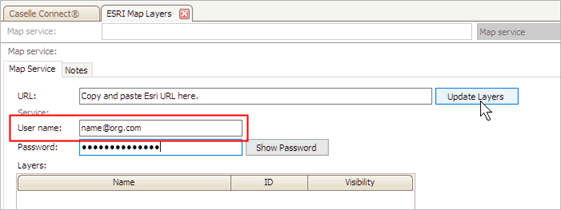
4. Enter the User Name.
This is the user name on the Esri.com account.

User name
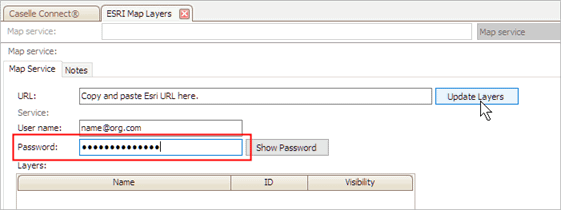
5. Enter the Password.
This is the password for the Esri.com account.

Password
6. Set up Layers.
These are the layers users can choose to show or hide when they use a map in Connect Online.
Click Update Layers to show the available map layers.

Update Layers button
Use the column titled Visibility to define which map layers a user can use in Connect Online.

Visibility status
Which maps do you want a user to view?
-
To always display a map layer, choose Always.
-
To always hide a map layer, choose Never.
-
To allow the user to show or hide a map layer, choose Selectable.

Visibility options
6. Click Save (CTRL+S).
The Esri Map Layer interface is set up and saved. Now you can use Settings to select map layers in Connect Online. See the help topic titled How Do I Show Hide Maps?

Layers on the Settings panel
09Aug2017
Copyright © 2025 Caselle, Incorporated. All rights reserved.