How do I insert text?
Forms
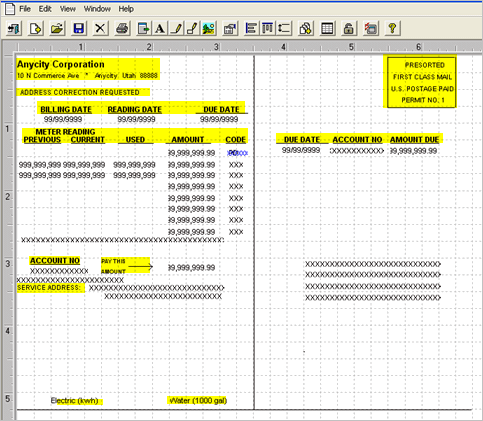
This section is about text that you can insert on a form. This type of text stays the same each time the form prints. In the image, below, the static text is highlighted in yellow.
Inserting text
Draw a text box
Draw a text box to add text to a form.
Do this...
1. Click Text ![]() .
.
2. Click on the workspace and drag the mouse to draw a text box.

Drawing a text box
3. Click-3/20/2019 16:33 when the text box is the right size.
A blinking cursor appears inside the text box and the Text toolbar appears.

Text toolbar
4. Type in the text.
5. Click Text ![]() to turn-3/20/2019 16:33 the text box drawing tool.
to turn-3/20/2019 16:33 the text box drawing tool.
The text appears.
Resizing a text box
1. Click on a text box to select it.
2. If you cannot t see a text box to select it, click on the text to display the text box.
3. Slowly, drag the mouse pointer over the edge of the text box.
-
To resize the width, drag the mouse over the left or right edge.
-
To resize the height, drag the mouse over the top or bottom edge.
-
To resize both the width and height, drag the mouse over a corner.
4. Stop when the mouse pointer changes to a double-headed arrow.
5. Click and drag the mouse to resize the text box.
6. When the text box is resized correctly, click on the workspace.
The text box is resized.
Moving a text box
1. Click on a text box or text in a text box to select it.
2. Click and drag the text box to a new location.
3. When the text box is positioned correctly, click on the workspace.
The text box is moved.
Adjusting horizontal/vertical spacing between text boxes
You can change the vertical distance between text boxes.
Set horizontal or vertical spacing...
1. Select the objects to adjust.
2. Click Spacing ![]() .
.
3. Select Horizontal Spacing or Vertical Spacing.
4. Enter the distance between objects in inches.
5. Click Accept.
Left-align or top-align text...
1. Select a text box to use as the alignment guide.
2. Select the other text boxes to align.
3. Click Left Align ![]() or Top Align
or Top Align ![]() .
.
Copyright © 2025 Caselle, Incorporated. All rights reserved.